A practical solvent safety checklist helps industrial facilities reduce chemical exposure, prevent fires, and meet HSE compliance standards. It covers storage, labeling, PPE, ventilation, spill response, and waste disposal.
- Keep a current solvent inventory and verify that every container has a legible label and a matching safety data sheet.
- Control solvent exposure through engineering controls first, then add administrative controls and personal protective equipment.
- Treat every spill as a potential fire or toxic release until the material is identified and the area is isolated.
- Train staff on the specific hazards of the solvents they use, not just generic chemical handling.
- Document every inspection, training session, and corrective action to support HSE compliance and audit readiness.
Start with the inventory and documentation
A solvent safety program fails when the facility does not know what is on the premises. Before any physical inspection begins, confirm that every solvent held in stock, in use, or in transit has a complete file. That file should include the supplier name, the product identity, the quantity on hand, the location of the container, and the date the safety data sheet was last reviewed.
Use a numbered checklist for this first block. It is easy to audit and simple to maintain.
- Verify that a master solvent inventory is up to date for the current month.
- Confirm that each container carries a label that matches the safety data sheet.
- Check that the safety data sheet for each solvent is available at the point of use.
- Identify any expired, unlabeled, or partially filled containers and remove them from service.
- Confirm that the facility waste manifest lists every solvent that generates hazardous waste.
Red flags to watch for:
- Containers with faded, handwritten, or missing labels.
- Solvents stored in glass jars that have no secondary containment.
- Safety data sheets that are only in a shared digital folder but not accessible on site.
- A waste manifest that does not match the solvent inventory.
- Staff who cannot name the specific hazards of the solvents they handle daily.
Control storage and segregation
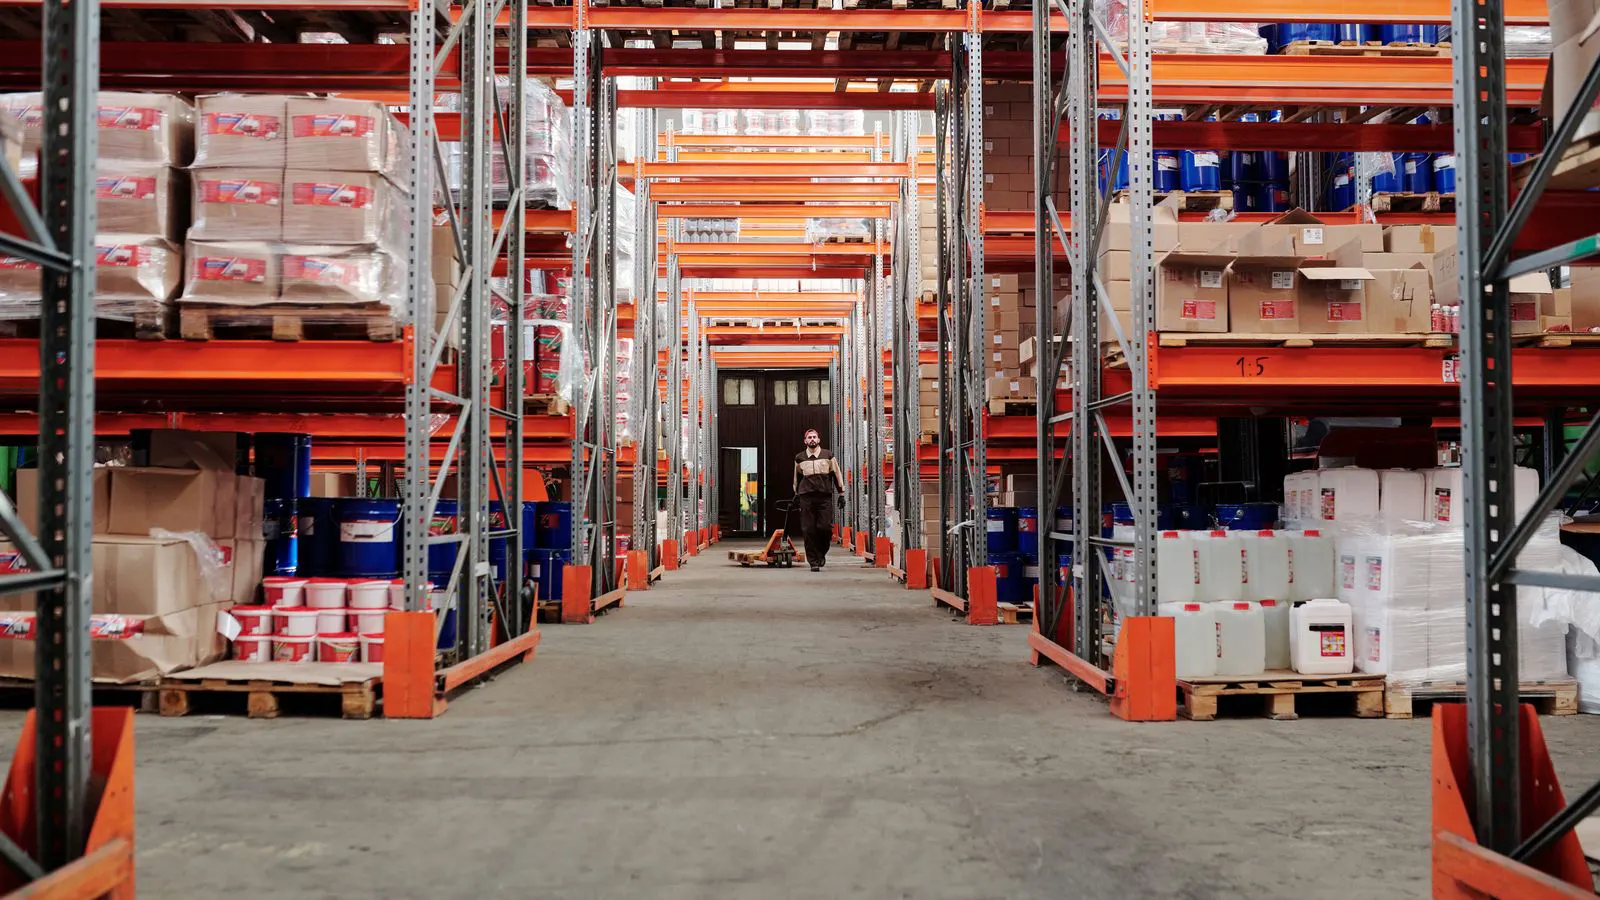
Solvents vary widely in volatility, flash point, and reactivity. Storing them without regard to these differences creates a fire or toxic release risk. Group solvents by hazard class, not by convenience of the receiving dock.
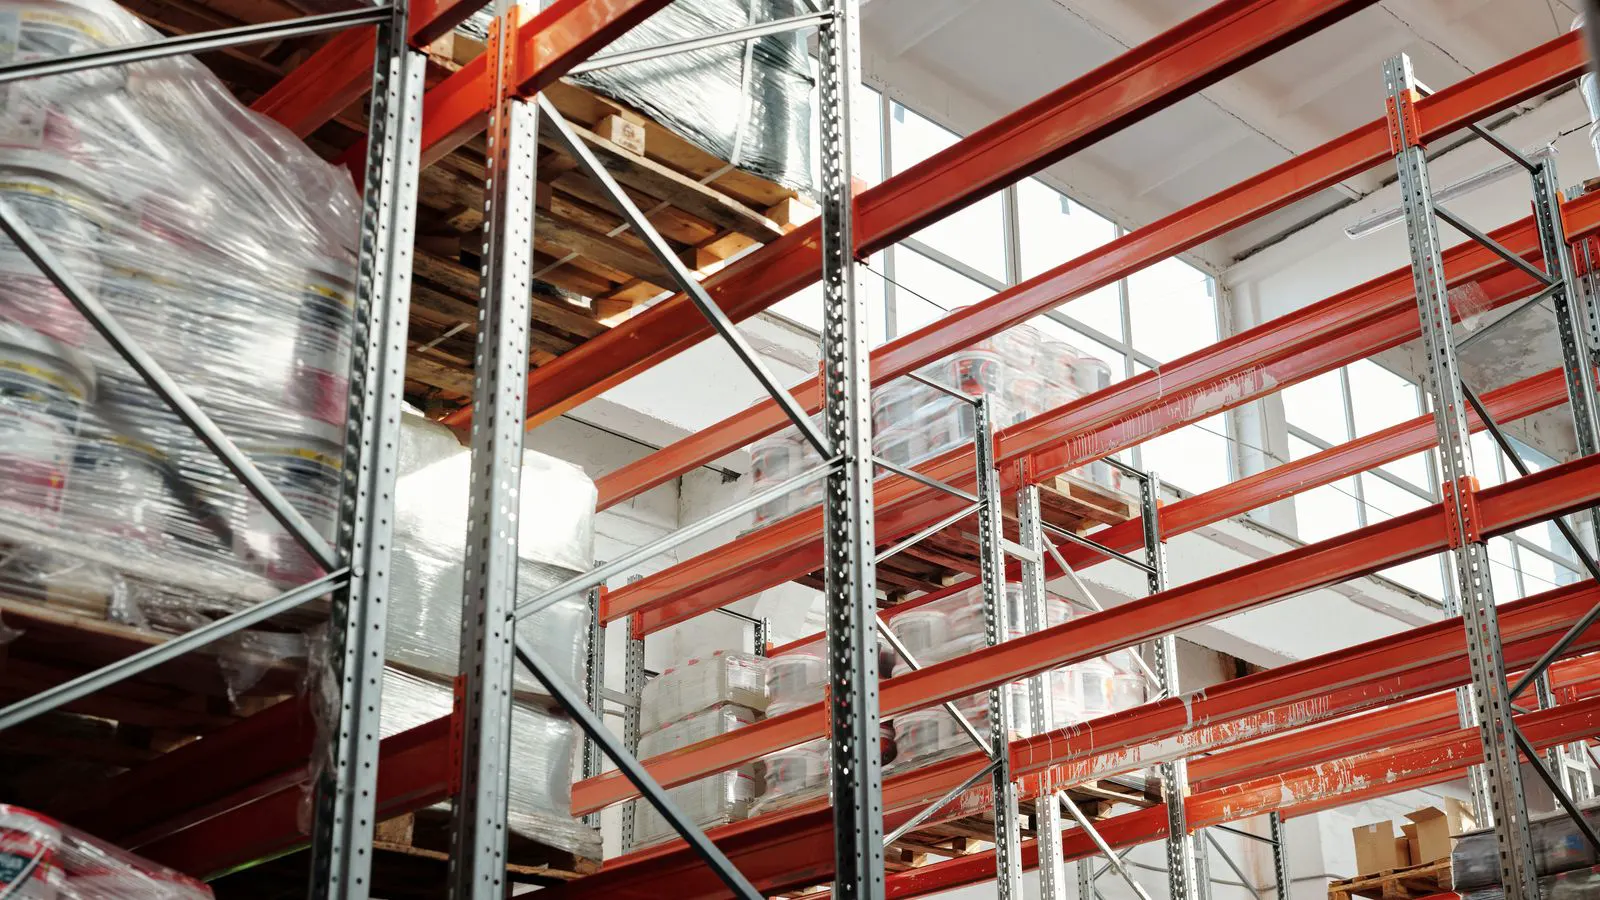
Keep flammable solvents in a dedicated, ventilated flammable storage cabinet or a rated storage room. Keep oxidizers, acids, bases, and water-reactive materials apart from flammables. Use secondary containment for all open containers and for drums that are not in a cabinet.
A simple table can help the reader compare common solvent groups and their storage requirements.
| Solvent Group | Typical Hazard | Minimum Storage Control |
|---|---|---|
| Flammable hydrocarbons | Low flash point, high vapor pressure | Rated flammable cabinet, grounded containers, no ignition sources |
| Polar aprotic solvents | Toxic by inhalation, some are carcinogenic | Ventilated cabinet, closed containers, PPE for handling |
| Halogenated solvents | Persistent, corrosive residues, high toxicity | Closed storage, compatible liner, strict waste segregation |
| Water-based cleaning agents | Lower flammability, but may contain corrosive additives | General chemical storage, check pH and reactivity |
| High-boiling specialty solvents | Slower vapor release, but may be toxic or sensitizing | Labeled, segregated, with a spill kit nearby |
Red flags to watch for:
- Solvents stored directly on the floor without a spill pallet or tray.
- A flammable cabinet that is also used for storing oxidizers or acids.
- Electrical outlets or lighting fixtures inside the flammable storage area that are not rated for the environment.
- Open containers left in a storage room instead of a dedicated cabinet.
- A storage area that blocks an egress route or an emergency eyewash station.
Apply engineering controls before personal protective equipment
Personal protective equipment is the last line of defense. If a facility relies only on gloves and respirators to control solvent exposure, the control plan is weak. Engineering controls reduce the hazard at the source.
Ventilation is the most common engineering control. Local exhaust ventilation at the point of use is far more effective than relying on general room air changes. Confirm that hoods, fume extraction points, or enclosed transfer points are functioning. Check the flow rate periodically and record the result.
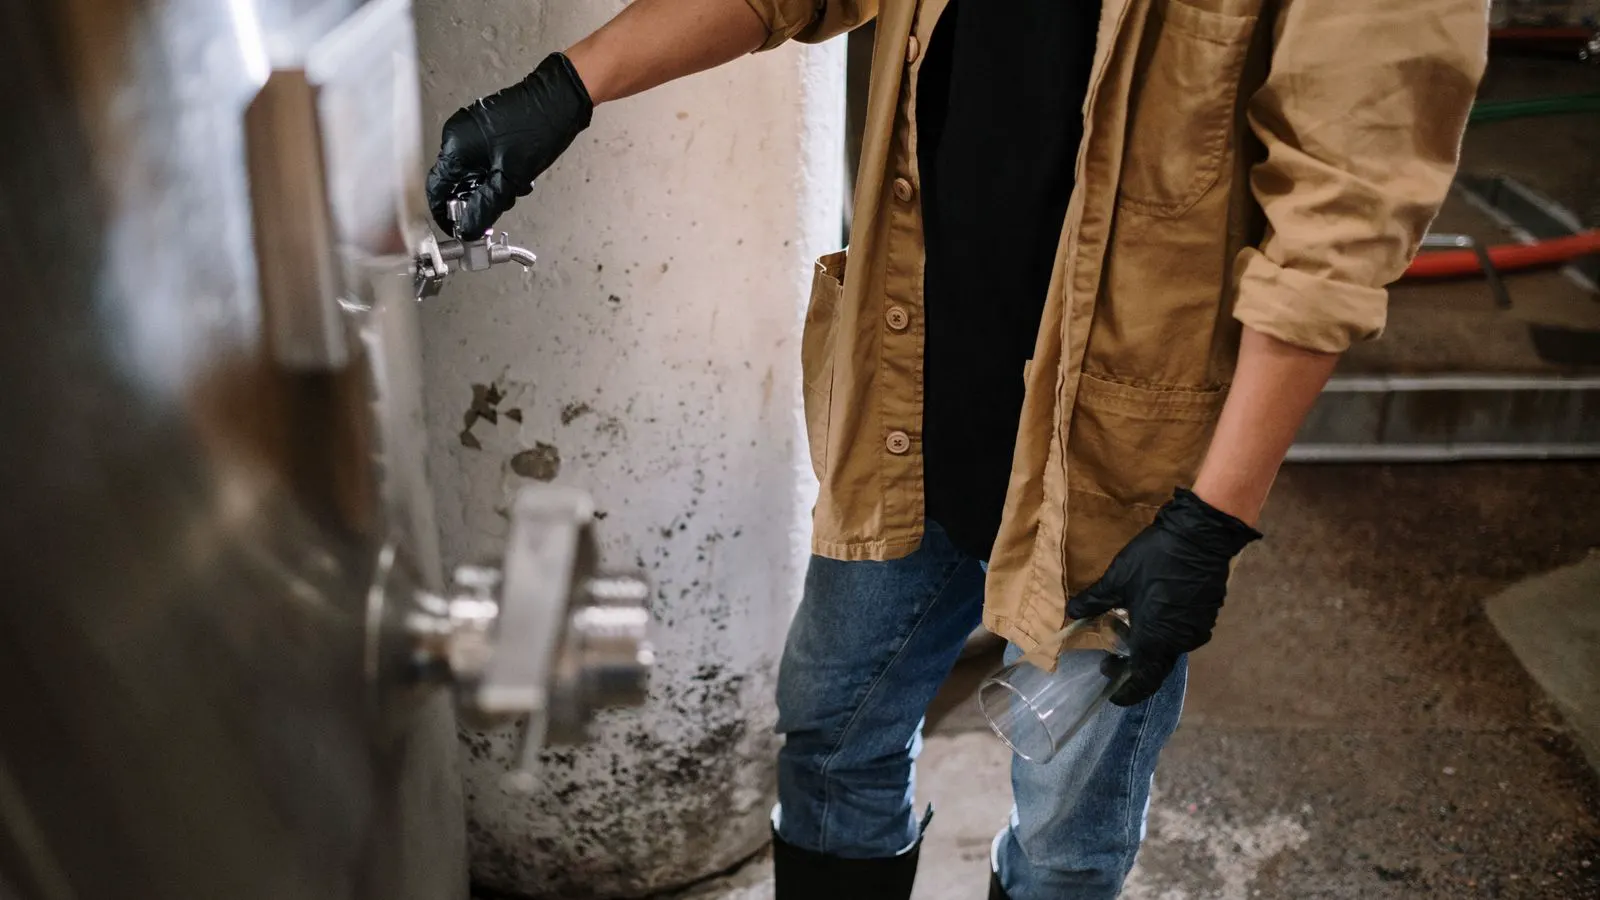
For transfer operations, use closed systems where possible. Open pouring of solvents into drums or tanks releases vapors into the worker zone. Use pump-assisted transfers, sealed filling stations, or remote filling where the process allows. Ground and bond all containers and transfer lines to prevent static discharge, especially when moving low-conductivity solvents.
Red flags to watch for:
- A fume hood that is not used because the operator finds it inconvenient.
- Vapors visibly rising from a drum during transfer.
- No grounding clamp on a hose or pump during solvent filling.
- A transfer operation that takes place in a room with no local exhaust.
- PPE being the only barrier between the worker and the vapor cloud.
Standardize labeling and communication
A solvent safety program only works if every person on site can identify the material and the hazard at a glance. Labels are the primary communication tool.
Every container should show the product name, the hazard class, the signal word, the pictogram, and the precautionary statements. If a secondary container is used, label it before filling, not after. Do not allow unlabeled containers to exist in the building, even temporarily.
Create a site-specific hazard communication plan. It should define who is responsible for labeling, where safety data sheets are stored, how new solvents are introduced, and how employees report a label problem.
Red flags to watch for:
- A drum with a label that does not match the liquid inside.
- A secondary container that was filled by a contractor and never labeled.
- A safety data sheet in a language that the receiving operator cannot read.
- A new solvent being used before the labeling and documentation are complete.
- A site rule that allows “temporary” unlabeled containers for a few days.
Define PPE and exposure limits
Personal protective equipment must match the specific hazard of the solvent and the task. A generic rule such as “wear gloves” is not enough. Different solvents attack different glove materials. Nitrile, neoprene, and butyl rubber all have different breakthrough times for different chemicals.
Confirm that the facility has a glove compatibility chart for every solvent in use. Train operators to select the correct glove for the task and to replace gloves when they are degraded. For tasks that generate significant vapor, use a properly fit-tested respirator with the correct cartridge. Do not rely on a respirator as a substitute for ventilation.
Eye protection is required for any task where splashes or mists are possible. For high-risk operations, use chemical splash goggles and face shields. For tasks that involve skin contact with sensitizing solvents, add a chemical-resistant apron or suit.
Red flags to watch for:
- One glove type used for every solvent in the facility.
- A respirator that has been reused after the cartridge is saturated.
- Eye protection that is scratched or cracked.
- A task that requires open pouring but only offers a basic face shield.
- PPE that is stored in a location where it is damaged by solvents.
Prepare for spills and emergencies
Every facility that handles solvents needs a spill response plan that is practiced, not just filed. A plan that sits in a binder is not a plan.
Keep a spill kit at every solvent handling area. The kit should contain absorbents, a neutralizer if the solvent is acidic or basic, a waste container, and the correct PPE. Train staff on how to isolate the area, stop the source if safe, contain the spill, and clean it without creating a new hazard.
For larger spills, the plan should define who calls for external help, who shuts down the affected process, and who controls access to the area. Conduct a tabletop exercise at least once per year so that the response is familiar to every shift.
Red flags to watch for:
- A spill kit that is missing absorbents or PPE.
- Staff who are unsure who the spill coordinator is.
- A spill response that starts with cleaning before the material is identified.
- A lack of a defined exclusion zone around the spill.
- A drill that has not been conducted in over a year.
Close the loop with training and audits
A solvent safety program is a living system. It requires continuous training, periodic audits, and documented corrective actions.
Train every employee who handles solvents on the specific hazards of the materials they use. Include new hires, contractors, and temporary staff. Refresh the training at least once per year, and immediately when a new solvent is introduced or a process changes.
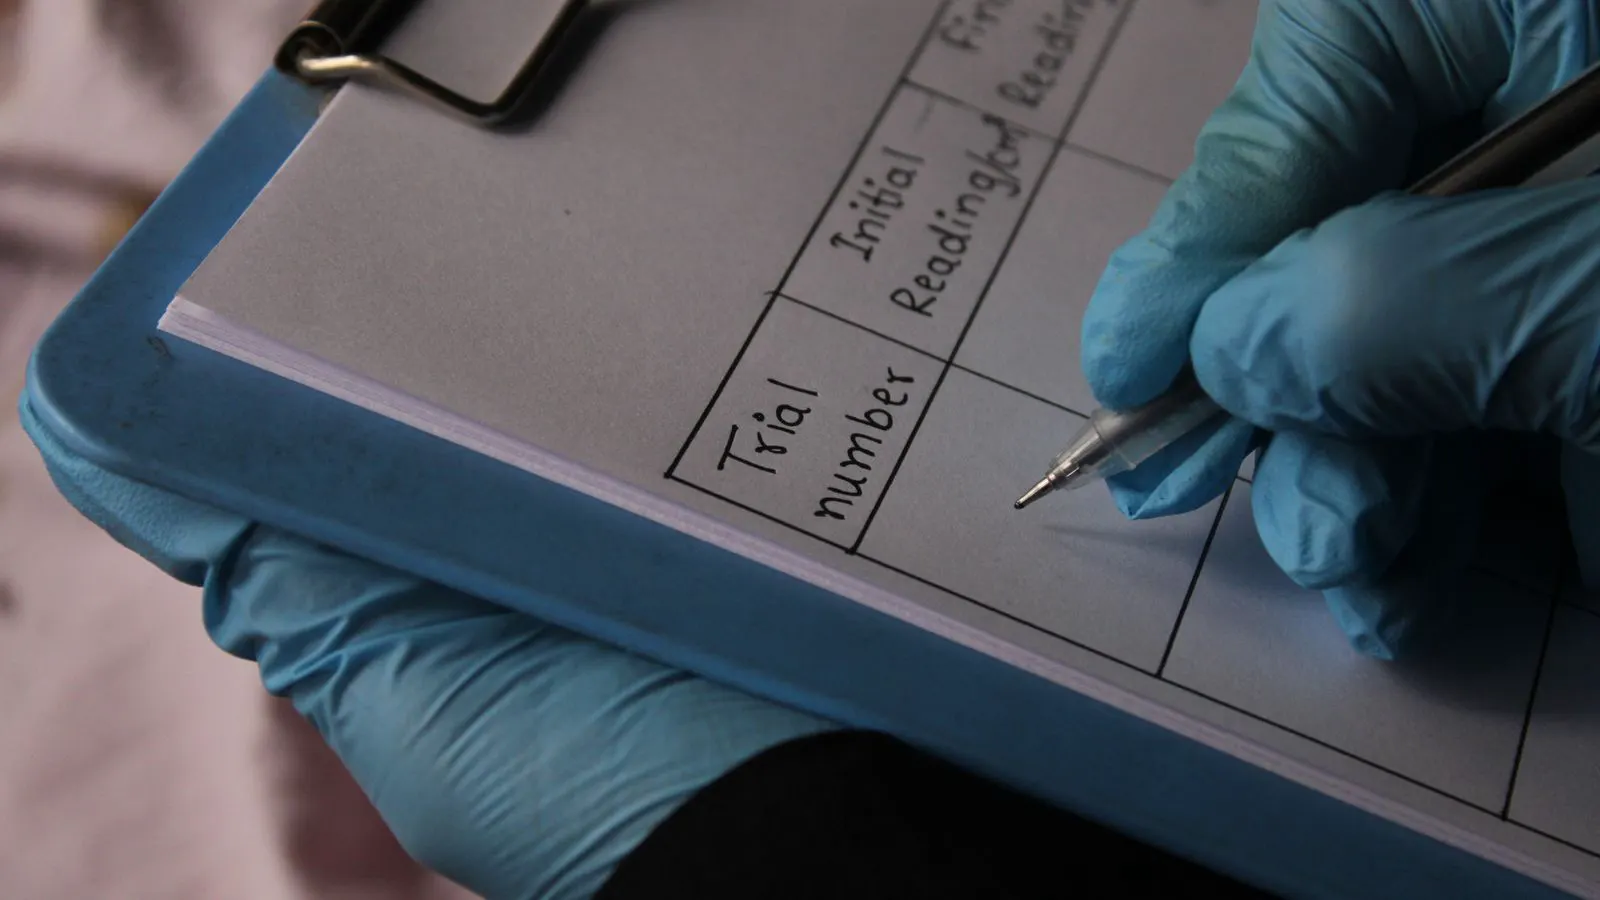
Run a monthly audit using the same numbered checklist from the first section. Record the results, assign owners for any nonconformance, and track the corrective action to closure. A short audit log is more useful than a long report.
Red flags to watch for:
- Training records that are missing signatures or dates.
- An audit that finds the same nonconformance twice without a root cause.
- Contractors who are not trained before entering the solvent area.
- A corrective action that is closed without verification.
- A culture where reporting a near miss is discouraged.
Keep the documentation current
A solvent safety program is only as strong as its records. Keep the inventory, safety data sheets, training records, audit logs, and spill reports in one place. Use a digital system if the facility size allows, but make sure the records are accessible to every person who needs them.
Review the program every six months or whenever a major change occurs. A new solvent, a new process, or a new building all trigger a review. Do not wait for an incident to force a review.
A solvent safety checklist is not a compliance exercise. It is a working tool that keeps people safe, protects the asset, and supports HSE compliance. Use it as a living document, not a one-time task.
Frequently asked questions
How often should a solvent safety checklist be reviewed?
Review the checklist at least monthly for routine operations and after any major change in process, material, or facility layout.
Can a single glove material be used for all solvents?
No. Different solvents attack different glove materials at different rates. Use a compatibility chart for each solvent in the facility.
What is the first action in a solvent spill?
Identify the material and isolate the area. Do not begin cleaning until the hazard is understood and the appropriate PPE is selected.
How do you verify that ventilation is working?
Perform a periodic flow measurement at the exhaust point and record the result. If the reading falls below the required level, stop the operation and service the system.
Who should be trained on solvent hazards?
Every person who handles, transports, or works near solvents, including employees, contractors, and temporary staff.